
The
past few months have been tough for many people. I wanted to do something to
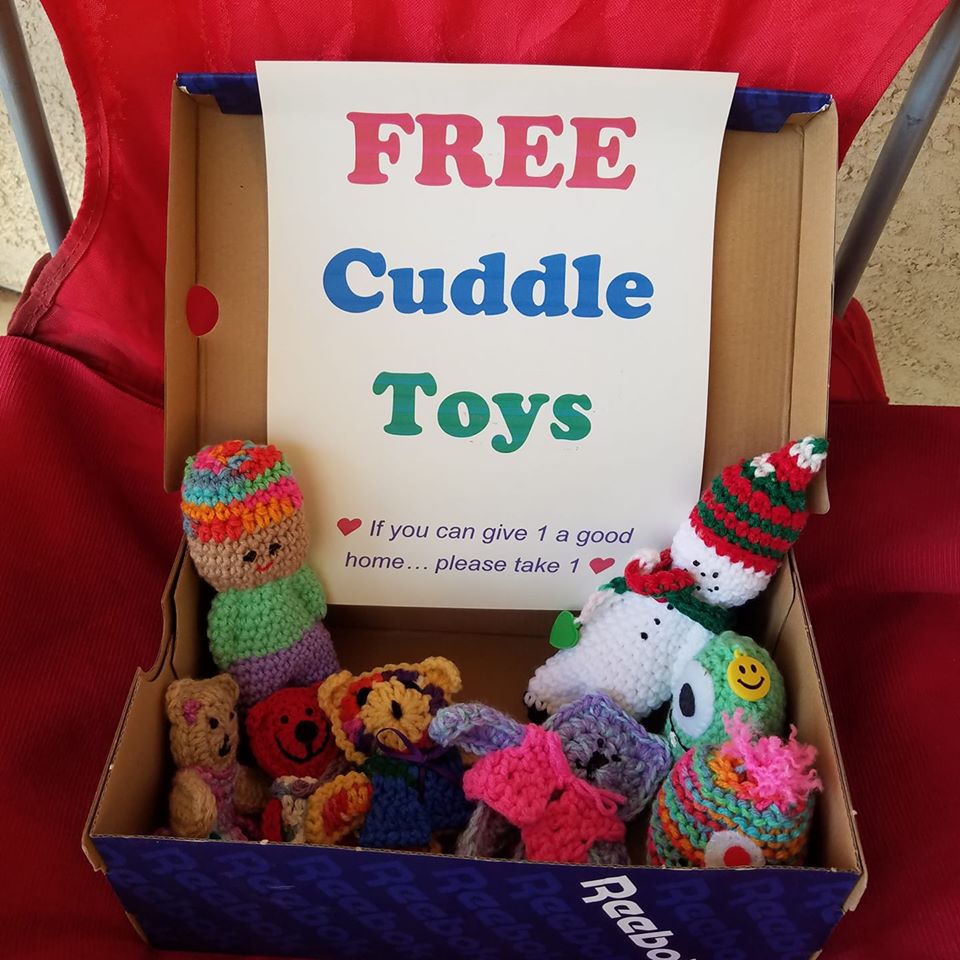
bring a little comfort to others. The Cuddles Box was an idea I found on an
Australian Facebook group. I decided to set one up in Logandale to help kids of
all ages get a little handmade cuddle toy of their own. I started knitting and
crocheting little dolls from my own pattern, and then created some more toys
like ‘monster cuddles’, ‘snowmen cuddles’ and ‘chick-cuddles’.
I
placed the dolls in a cardboard box in my front yard with a couple of
signs,
and watched to see what would happen. Almost all the cuddles were taken
by
happy children that day. As you can see, the box is just an old shoe
box and very simple to make. You could do this in your town too.
I
started making 2 or 3 cuddles a day and then asked friends on my Facebook
charity crafting group if they could help. People across the USA have been sending them to help and I am
grateful.
If you can help make small dolls etc there are patterns on my website. There is no particular deadline currently because when the box is 'done' there are so many other places who need these cuddle toys!
@>~>~~~
@>~>~~~ @>~>~~~ @>~>~~~
@>~>~~~

Bev’s Kaiizen Doll
Copyright Beverly A. Qualheim 2015, 2020
About 8" tall
Size F 3.5 mm) hook
Small amounts of worsted weight yarn in different colors
shoe color, pants color, shirt color, skin color.
(Basic pattern 2 rows of brown, 10 rows of blue, 10 rows of varigated, 8
rows of flesh, 7 rows pink)
(Shoe
color) Chain
21 and join to first chain with a slip stitch.
Round 1: sc in each chain, don't join. (You can place a stitch
marker here, although I just use the initial yarn tail as a guide to where each
round starts.)
BASIC ROUND: Round 2: Sc in each sc around, stopping at the marker
Pants: 10
basic rounds
Shirt: 10
basic rounds
Head: 6
basic rounds
Hat: do 1 row basic, then 2 row in BLO, 4 more basic rows
Decrease: 2 rows of sc in every other stitch. End off. Stuff with Poly-fiberfil and stitch the feet closed. Use t to make face.
Stitch pant legs and arms as shown in photo.
@>~>~~~ @>~>~~~ @>~>~~~ @>~>~~~ @>~>~~~
Bev's Kaiizen
Teddy Bear
Copyright 2015, 2020 Beverly A. Qualheim
Size F 3.5 mm hook
Worsted Weight yarn #4 (10 ply in Europe)
Chain 24 - leaving an 12" length of yarn to sew base/legs later,
join into a circle with a slip stitch. (You can make this flat too by not
joining, and then seaming the back shut when done with the rectangle- sc 22
rows)
Round 1: Sc in each chain around, do not join
Rounds 2- 26: Sc in each sc around.
Cut yarn and weave through extra sts to close.
♥ (Ears- version 1: Chain 6, sc in nearest ch from the hook. Hdc in next ch, dc
in middle ch, hdc in next ch, sc in last ch. End off leaving enough yarn
to sew ears on head. I like to sew a running stitch through the base of
the ears and pull slightly to gather, and then sew onto head.)
Alternate way to do ears and a stitch guide- I prefer this way, is stitching across (see photo below):

Feet: Weave in and out around 'feet'/base, then pull to gather.
Sew a few sts between the legs. (see photo)
Stuff: Use Polyester Fiberfill to lightly stuff the teddy bear-- fill in the legs,
and up to top of head.
Neck: Sew a gathering stitch around neck and pull tightly.
Tie it in a square knot and weave in ends. (You can tie a ribbon
around the neck if you wish)
Head: Sew
across the top. Backstitch ears in top of the head
as show in above photo.
Arms: Backstitch the
arms as in photo above, and stubby legs just need a couple of stitches.
Use same color of yarn. Face: Using puffy paint or craft
paint draw on eyes, and a nose.
@>~>~~~ @>~>~~~ @>~>~~~ @>~>~~~ @>~>~~~
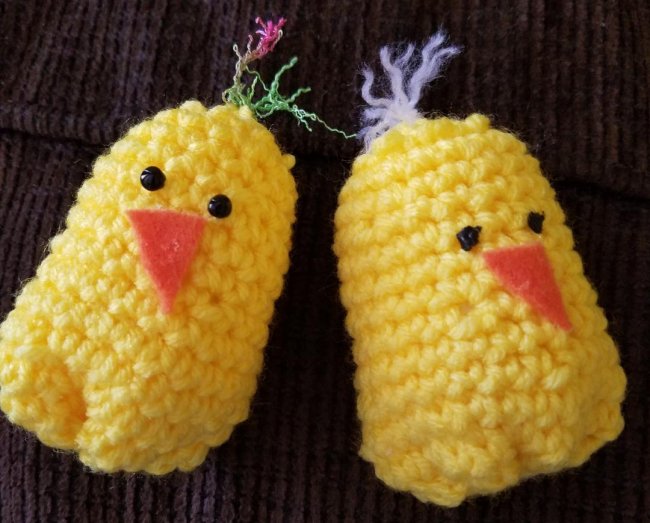 Chicky Chicks
 Bev's KNITTED Kaiizen Bears
Size 5 or 6 knitting needles, yarn needle, small amount fiberfil
1 oz worsted weight yarn (#4 yarn)
<------- light blue bear in the front row
Cast on 24 sts
(to knit flat rectangle) Stockinette stitch (K1 row, P the next) for 6" or so. OR use double pointed needles and knit in the round making a tube.
SEAMS: Cut
yarn with 12" tail. Remove sts from the needles by threading the
12" yarn to a yarn sewing needle; sew each stitch off the knitting
needles, and pull to gather top of head. If knitted flat, also
seam down the back.
Stuff as firmly as you wish with fiberfill
♥Sew
legs and arms and ears just like the crocheted version pictured above.
The base/feet of the bear are also gathered and then stitch as
shown for the crocheted version.
Embroider face, or use craft paints and let dry.
Weave 8" yarn in and out at neck, then gather fairly tightly, tie in a square knot and tuck yarn ends inside of head.
DISCLAIMER: This website is supported by affiliate links meaning that I receive a small amount of money from any purchases you make to help pay the bills. Thanks for helping me keep BevsCountryCottage online.