♥ Join us on our "Bev's Country Cottage Neighborhood" FACEBOOK group too! ♥

 Kid's Warm Winter Set

Bev's "Warm-Me Hat"
Copyright Beverly A. Qualheim 2009, 2023
Abbreviations used : Rnd = round ch = chain; st = stitch; sl st = slip stitch; dc = double crochet; FPDC = front post double crochet
AGES 1- 4 use a G hook (4.00 mm)
AGES 5-10 with (teens/womens/men) H hook (5.00 mm) and 2 oz of worsted weight yarn
Ch 4, join to form a ring.
Rnd 1: Ch 3 (counts as 1 dc), do 13 more dcs inside ring., join with a sl st in top of the first dc.
Rnd 2: Ch 3, dc in base of ch 3, *(dc in next dc, 2 dc in next dc) repeat from * around. Dc in base of the ch 3, join with a sl st in top of the 1st ACTUAL dc. (21 dcs)
Rnd 3: Repeat rnd 2. (32 dcs)
Rnd 4: Repeat rnd 2. (46 dcs)
(for Teens/adult hats do another row of increase) (72 sts)
Rnds 5 - 12 smaller sizes: Ch 3, dc in base of 1st dc and in each dc around, join with a sl st in top of the 1st dc.
(Rnd 6 - 13 Teens/adults: Ch 3, dc in each dc around, join with a sl st in top of the 1st actual dc.)
*Rnds 13 - 18 (6 rounds): Ch 3, FPDC in each dc around. Do not FPDC in the Ch 3 though. Join with a sl st in top of the 1st dc.
At the end of round 18 join and end off. Weave extra yarn through stitches several times and cut.
*(Larger hat for teens and women: Rnd 14 - 20 Ch
3, FPDC in each dc around. Do not FPDC in the Ch 3. Join
and end off. Weave extra yarn through stitches several times and cut.
 Bev's Quick Warm Scarf Bev's Quick Warm ScarfCopyright Beverly A. Qualheim 2023 Materials needed: Approx. 500 yards (457 meters) of worsted weight yarn You could use a bulky yarn with a larger hook, and your gauge will end up a bit different - fewer sts to the inch and fewer rows to inch. Size H (5 mm) crochet hook Gauge: 9 Dc=3" 8 rows = 5" You can whip up this scarf easily in 2 evenings of watching TV! This makes it about 7" across x 4' (1.2 meters) long for kids, 5' (2.4 meters) for adults Chain 20 (childs) (24 for adults): Row 1: Double Crochet in the 4th chain from the hook and in each chain across - including that very last one (into top of previous rows chain 3), chain 3 after you make the last stitch, and turn the piece around Rows 2- 64 (or till you are done!): Double Crochet in the same stitch as the chain 2, and in each Double Crochet across the row, ch 2 and turn. (20 Double Crochets) --HINT At the end of each row, be sure to add up the number of double crochets to make sure they stay the same. Keep crocheting in this pattern until scarf is 4 feet long for a child (5 foot long for teens/adults) For a smooth edge, you can sc around the outside of the scarf. |
 Sc = single crochet; dc = double crochet; hdc = half double crochet; sl st = slip stitch,
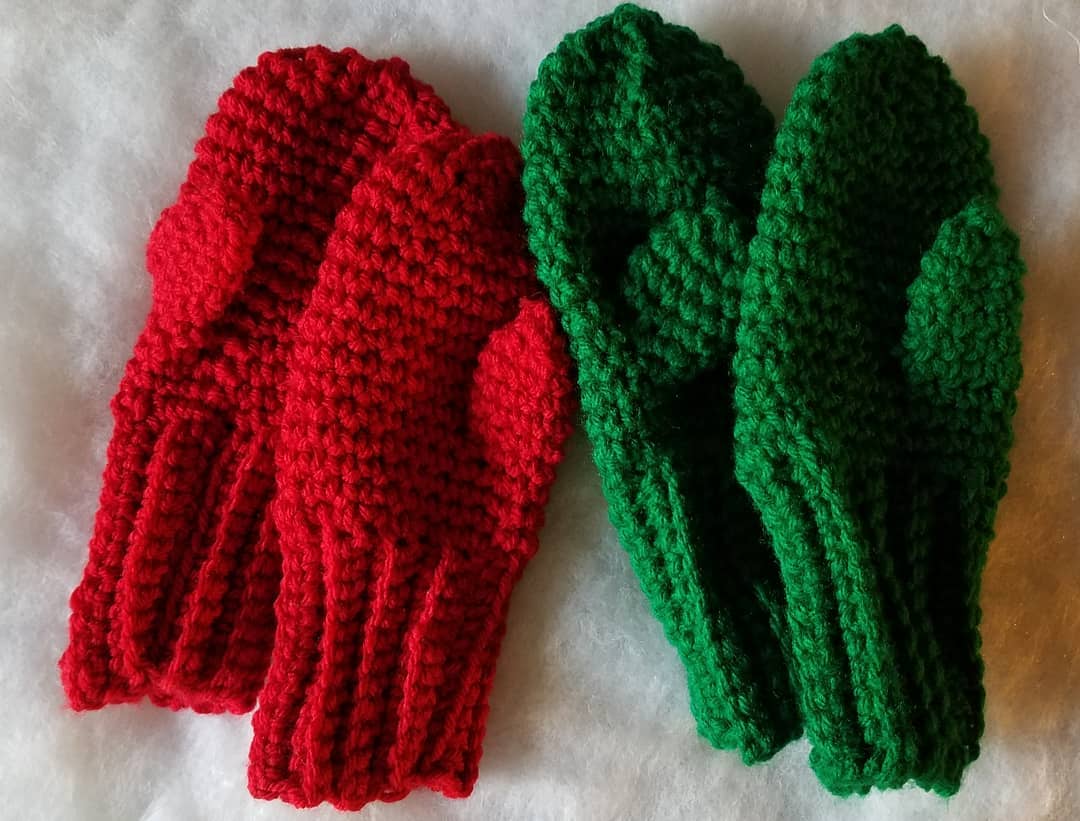
Child's Mittens (Preschool sized) (school-aged) original idea © BYU Women's Conference - adapted by Beverly A. Qualheim
Uses about 90 yds of 4 ply worsted weight yarn - any color (or combo of colors)
Size G (4 mm) or H (4.5 mm)crochet hooks. It depends how tightly you crochet.
Gauge: 3 sc =1" 4 rows = 1"
Begin with CUFF using G hook: Chain 13. (16)
Row 1: Single crochet (sc) in 2nd chain from the hook. Sc in remaining chs across . Ch 1, turn
(total of 12, 15 sts)
Rows 2-18 22: Sc in each sc to end of row in BLO (backloops only); ch 1 turn. Repeat to row 18 (22) maintaining 12 sc (15 sc) across.
(Joining) Fold cuff in half bringing beginning row to ending row and line up sc stitches to first row of cuff. Slip Stitch (ss) corresponding stitches together to form the cuff. Turn so seam is on the inside. You are now working on the outside of mitten. (change colors here if you wish)